Custom driver
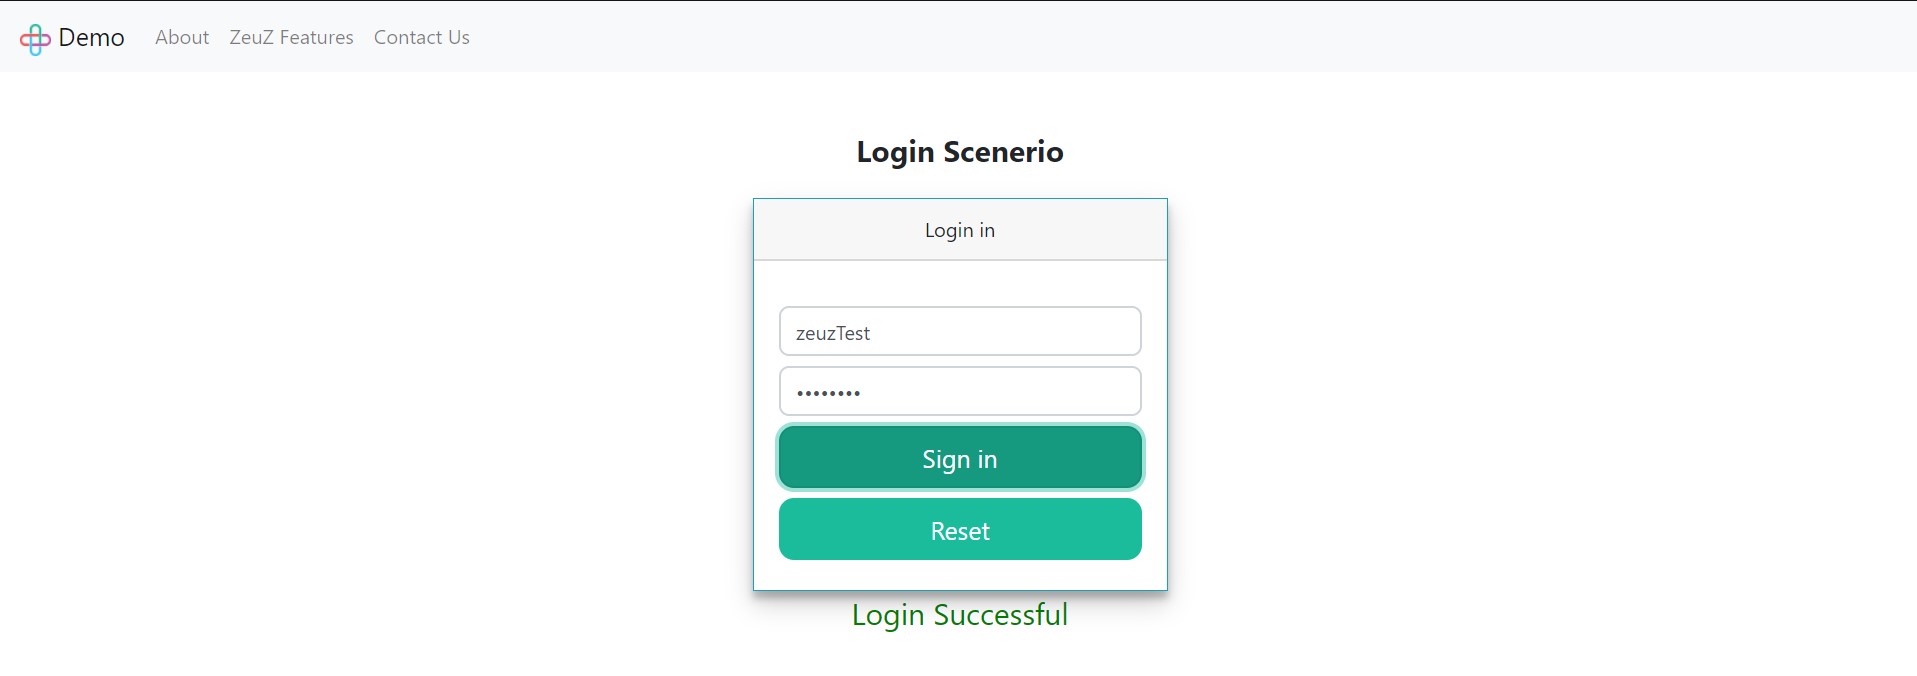
In ZeuZ, to execute automation process, you can use Built_In_Driver where all our actions are declared, as well as you can build your own driver inside our framework and run your driver along with the Built_In_Driver. This documentation is about how you can define your own driver and make it work with the Buil_In_Driver. We will try a demo login which is a selenium web automation test case. For this we will try the first 2 actions with our Built_In_Driver and the last 2 actions with a Custom Driver meanwhile collecting the resources Built_In_Driver created.
So, First of all, we will create a test case, add a step and we will declare 2 actions inside it-
- Go to link “https://demo.zeuz.ai/web/level/one/scenerios/login”
- Enter Username = “zeuzTest”

In this case, we don't need to change the step settings as we are executing these 2 actions with Built_In_Driver and its set as default.
Then suppose we want to declare 2 more actions with our own custom driver-
- Enter password = “zeuzPass”
- Click “Sign in” button
Executing these 2 action will complete the demo login process So, to execute our own custom driver we need to add another step. Because step one will be executed by Built_In_Driver.

Here, we have created Step 2. Now lets click the “Step info” button
 A pop up will appear. Then click on the “View/Edit Step” button
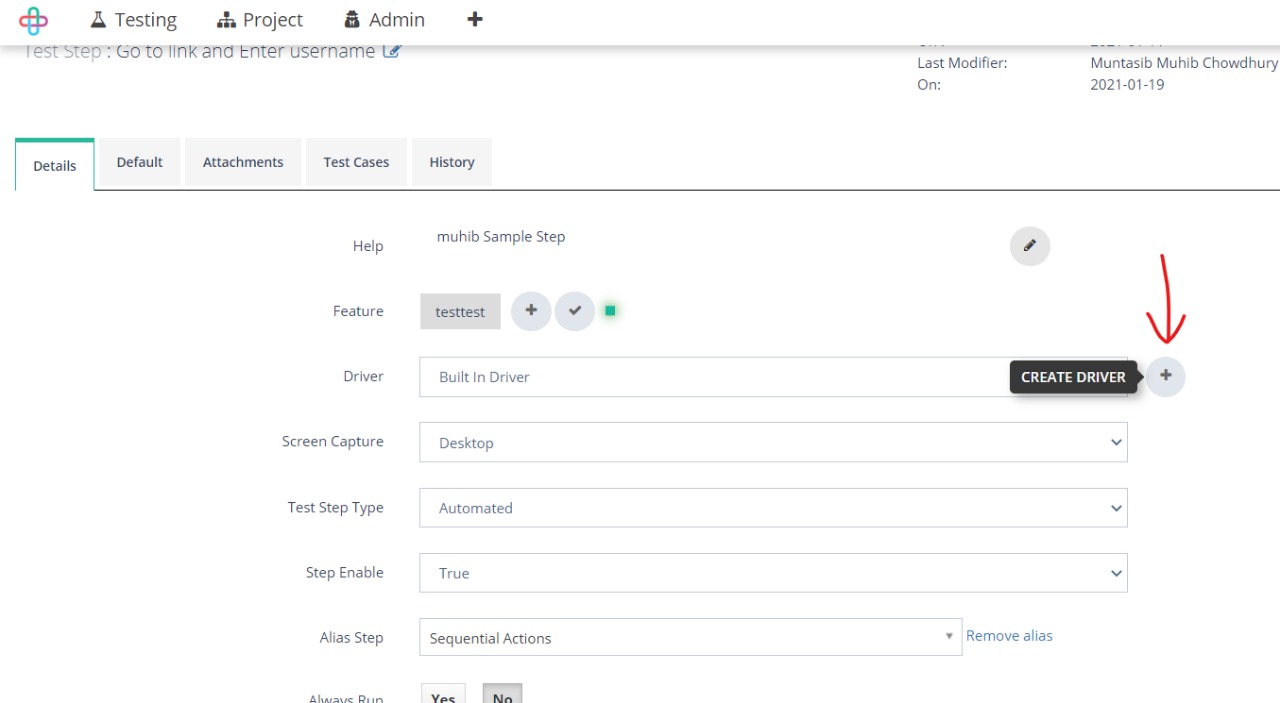
A new window will be created. From that window you can see the default driver is our Built_In_Driver. Now we will create our own driver by clicking the “CREATE DRIVER” button.
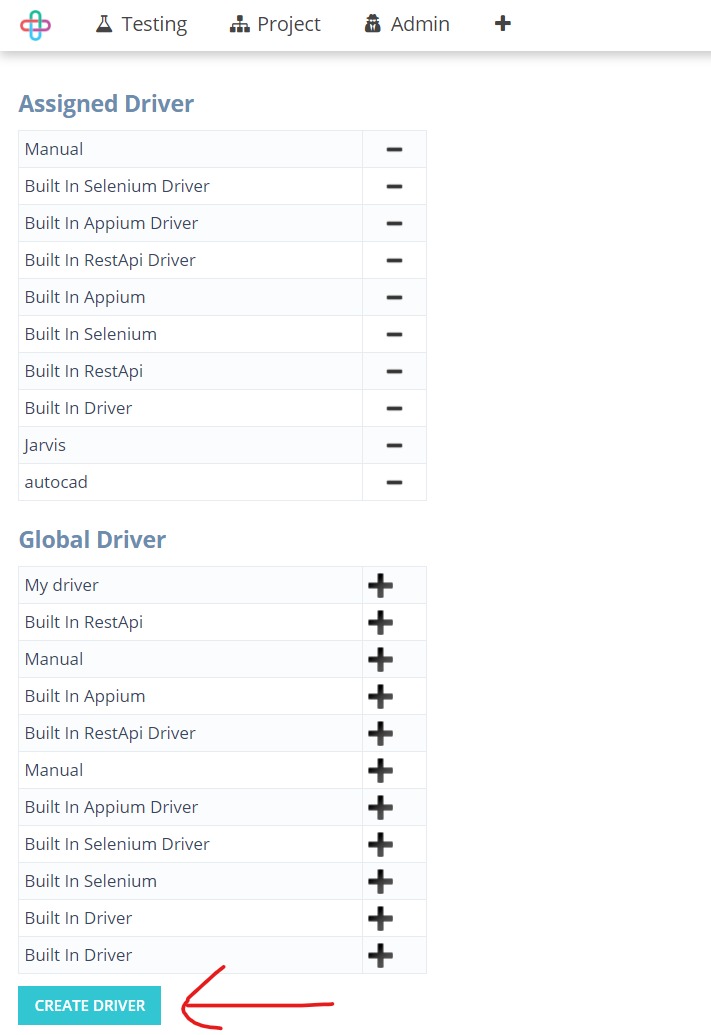
Click on the “CREATE DRIVER” at the bottom of the page.
Provide a Driver Name suppose “My_driver” and click “OK”
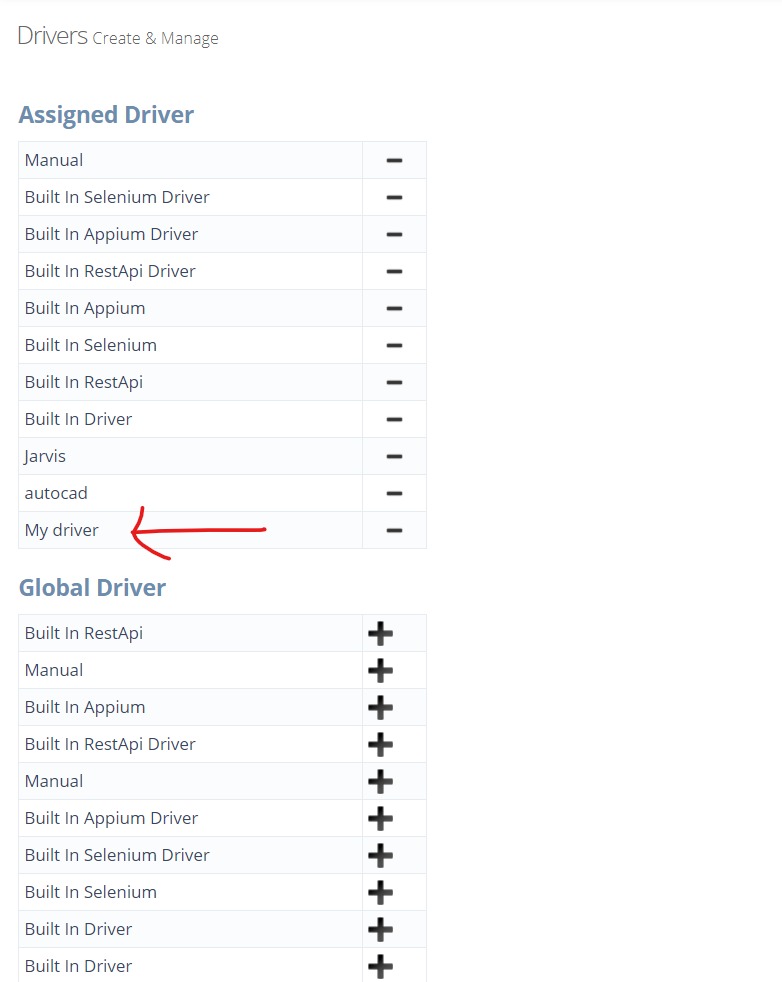
Make Sure the driver remains at the “Assigned Driver”.
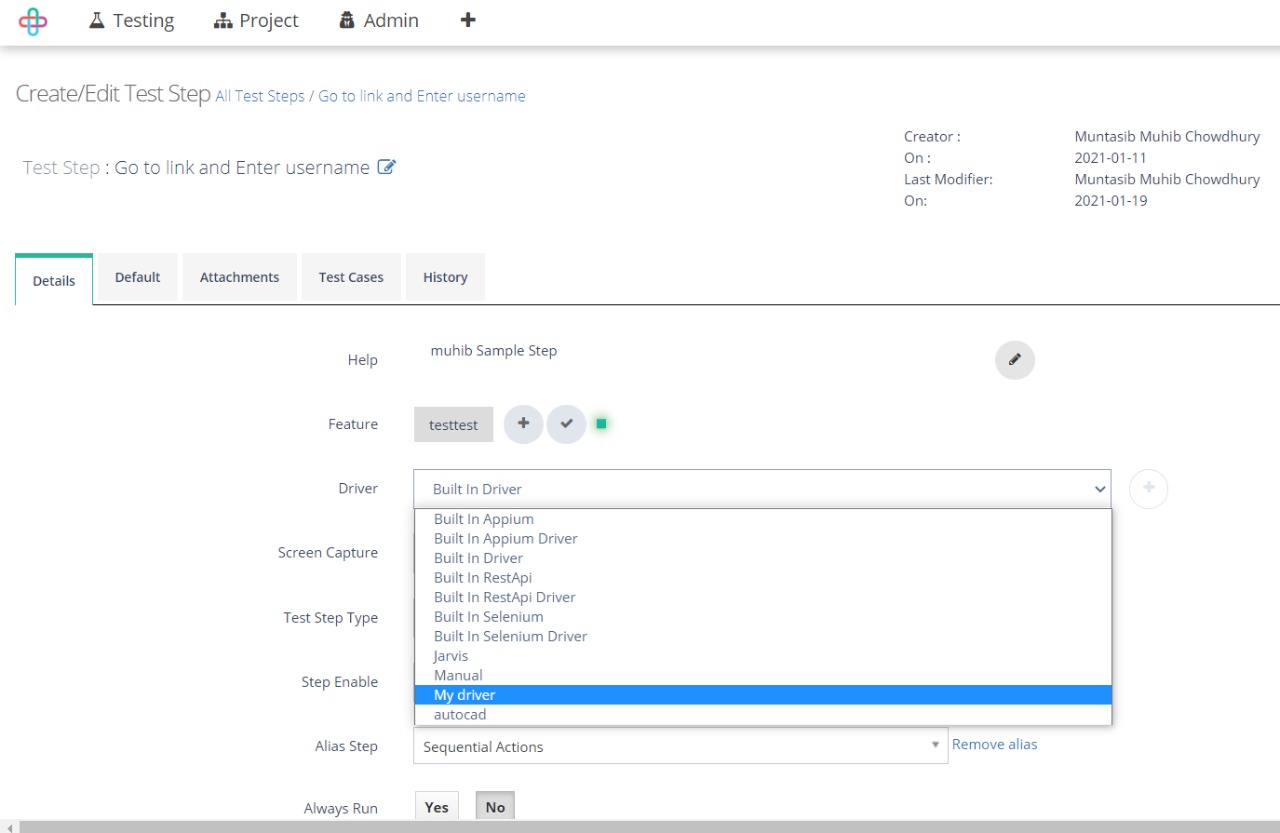
Now go back to the Edit Step page and REFRESH. There you will see your newly created driver. Select your driver from the drop down list. Thats it now the Step 2 will be executed by the My_driver and not with the Built_In_Driver.
So at this point, we need some action dataset to pass through the My_driver and write code for the My_driver. You can set any dataset you want but your code and dataset should match.

So go back to the Test case and REFRESH. Then again enter Step-2. Then add 2 actions randomly so that we can then edit them and make our own dataset. You can edit the texts of a cell by clicking that. You can add a row with the + sign and delete a row with the X sign, thus making your own dataset. Now we will write code for the driver and execute selenium scripts with the dataset we just created. First of all we need to create a python file at this location ..\Zeuz Node\ZeuzPythonNode\Drivers\ and name the file exactly “My_driver.py”

Now, open “My_driver.py” file in an Editor and write the codes for the driver.
After we have written the code, now if we run node_cli.py and run the test case from the server we will see the Login was successful from the automation browser.
