How to create Bugs
Description#
What is a bug in software testing?#
A bug in software testing is a flaw or default in a component or system or software that can cause the components or system to fail to perform its required functions. In other words, if the bug or defect is encountered during the execution of the test, it may cause the failure of the components, that is, does not work as it is expected from the component.
Why bug reports are necessary in software testing?#
Bug reports are necessary in software testing because they help identify bugs that can cause the software or system to fail to perform its required functions.
When you find a bug, it is essential to report the bug for it to be fixed properly. Writing a bug report is thus a crucial stage of the bug lifecycle, which comes right after it is identified.
A good bug report covers all the crucial information about the bug, which can be used in the debugging process. It helps with a detailed bug analysis and gives better visibility about the bug and helps find the right decision and approach towards debugging. It also saves cost and time by helping debug at an earlier stage.
Bug Details Tab#
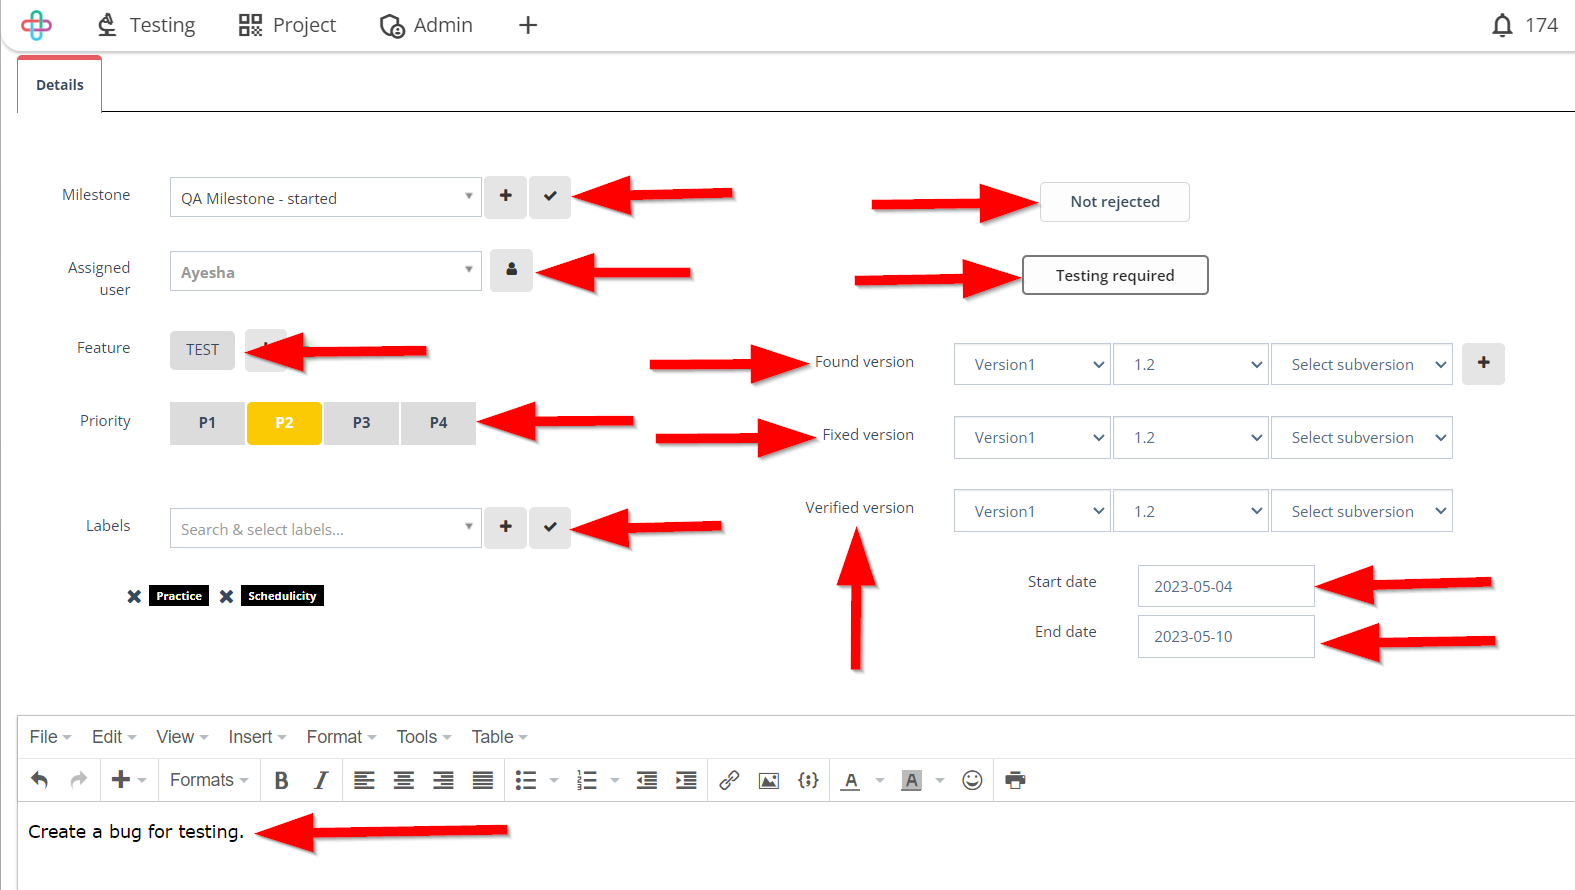
Create / Edit Bug: It mainly starts with a Details tab and contain the following fields:
Title: At first we need to enter a Title of the Bug that is being created.
Milestone: Then we need to fill up the Milestone field. However, the Plus sign (+) indicates Create new milestone and the Tick sign indicates Make individual default milestone.
Assigned User: We can assign a user just by clicking on the Assigned User field and can assign him/her as a user and another button is available at the right side of it called Set as Triage.
Feature: Click on Choose Feature button and select the feature and at the right side of it there is a Plus sign (+) which helps to create a feature.
Priority: During the edit of test cases, we need to select the Priority, similarly for the creation/edit of bugs of test cases, we also need to select the Priority of it among P1, P2, P3 and P4.
Labels: For selection of Label, click on Label field and select Label. However, for a new Label, click on Plus sign (+) which indicates Create new label and for default Label, click on Tick sign which indicates Make individual default label.
Description: Click to provide detailed information and instructions related to a test case or testing artifact for clear understanding and execution.
Found Version: Here three different fields are present, Select Branch, Select Version, and Select Subversion and need to select all these three fields and if the version is not created then click on Plus sign (+) and create a new version.
Fixed Version: Three similar fields are present here like Found Version.
Verified Version: Three similar fields are present here like Found Version as well as Fixed Version.
Start Date: We need to select the Start Date of the bug that will be linked to the test case.
End Date: Just like the Start Date we need to give the End Date of the bug during the edit.
note
If the Bug is totally fixed then click on Fixed and if it is not then click on Not Fixed. On the other hand, if the testing is required for the Bug then click on Testing required otherwise click on Testing ignored for it.
After that if we want to save that Bug then we have to click on SAVE at the top right side of the page and it will be saved with all the information.
Steps#
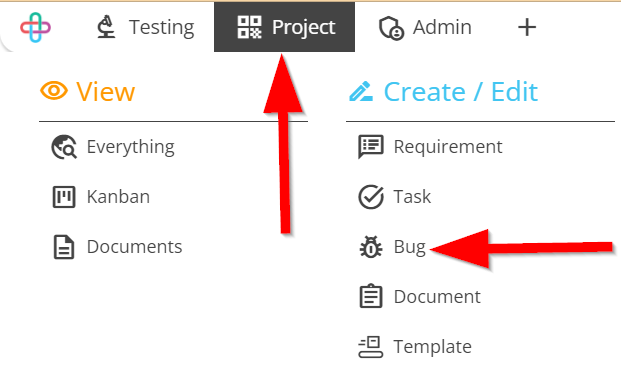
- From the Menu bar, go to the Project then Bug option.
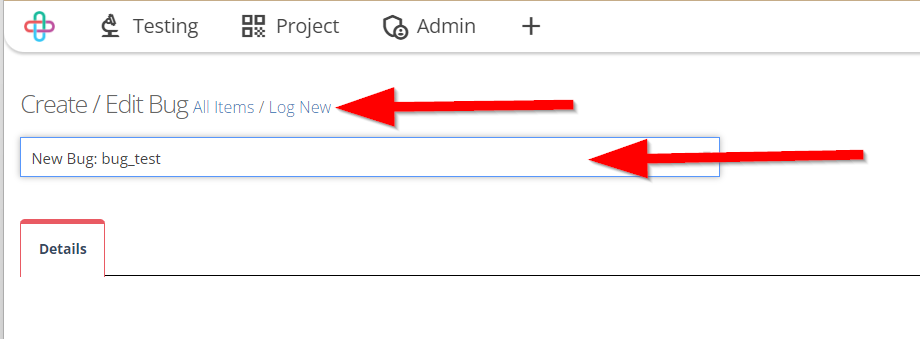
- Go to the Create/Edit Bug page.
- Enter the title of the bug.
Entering the Title of the Bug is necessary to provide a clear and concise description of the issue or problem, aiding in accurate bug identification and tracking.
- Fill up the information of Details tab like:
- Milestone,
- Assigned User,
- Feature,
- Priority,
- Labels,
- Description,
- Not rejected or Rejected,
- Testing ignored or Testing required,
- Found version,
- Fixed version,
- Verified version,
- Start date,
- End date.
- Multiple of Labels can also be selected.
Selecting multiple labels in a Bug is necessary to categorize and tag the Bug with various keywords and criteria, making it easier to search, filter, and manage Bugs based on different attributes or characteristics.
- Click on the Save button.
