How to add Runtime parameters
Description#
What is Runtime parameters in software testing and why it is necessary to add?#
In software testing, runtime parameters refer to the values or settings that can be passed to a test cases during its execution or runtime. These parameters are typically used to control the behaviour of the test cases or to customize its execution based on specific requirements.
They allow testers or users to influence the execution flow of the software and observe how it behaves under different conditions.
Runtime parameters are added in software testing to make the testing process more flexible and effective. It enhance testing process by allowing testers to control and customize the software's behaviour during testing.
Overall, runtime parameters play a crucial role in enhancing the testing process and ensuring comprehensive software testing.
Important roles of Runtime parameters#
Runtime parameters play important roles in software testing. They enable the configurations of test environment, variation of test data, performance testing, and achieving better test coverage.
Runtime parameters also help adapt the software to different environments and aid in debugging and troubleshooting. By adjusting these parameters, testers can control inputs, conditions, and settings during test execution, ensuring comprehensive testing and identification of potential issues.
Overall, Runtime parameters enhance the effectiveness and flexibility of software testing processes, enabling testers to validate software behaviour under various scenarios and conditions.
Steps#
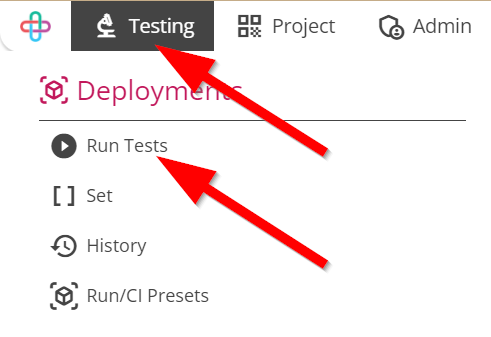
- From the Menu bar, go to the Testing then Run Tests option.
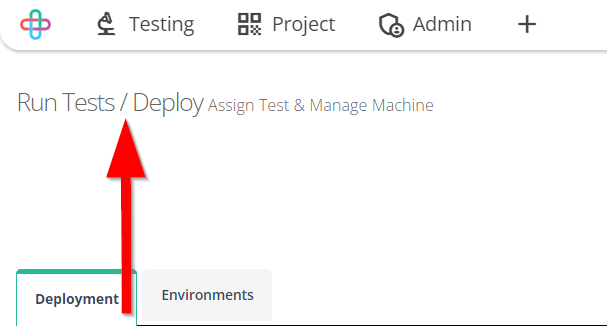
Go to the Run Tests/Deploy page.
The Run Tests/Deploy page refers to a dedicated interface or platform where test cases are executed or deployed for the purpose of evaluating software functionality and performance.
Run Tests/Deploy page have two tabs:
- Deployment
- Environment.
The Informations of Deployment tab needs to be filled up.
Click on the More option.
The More option typically refers to additional or extended functionalities, options, or settings that are not immediately visible but can be accessed to access advanced features or information.
Following More options are:
- Run Parameter
- External Services
- Schedule
- Objectives.

- Click on the Run parameter option.
Run Parameter refers to the configurable values or settings that are used to control the behavior and scope of a test run or test execution.
The function of Run Parameters is to customize and control various aspects of the test execution, enabling testers to conduct specific and targeted test scenarios.

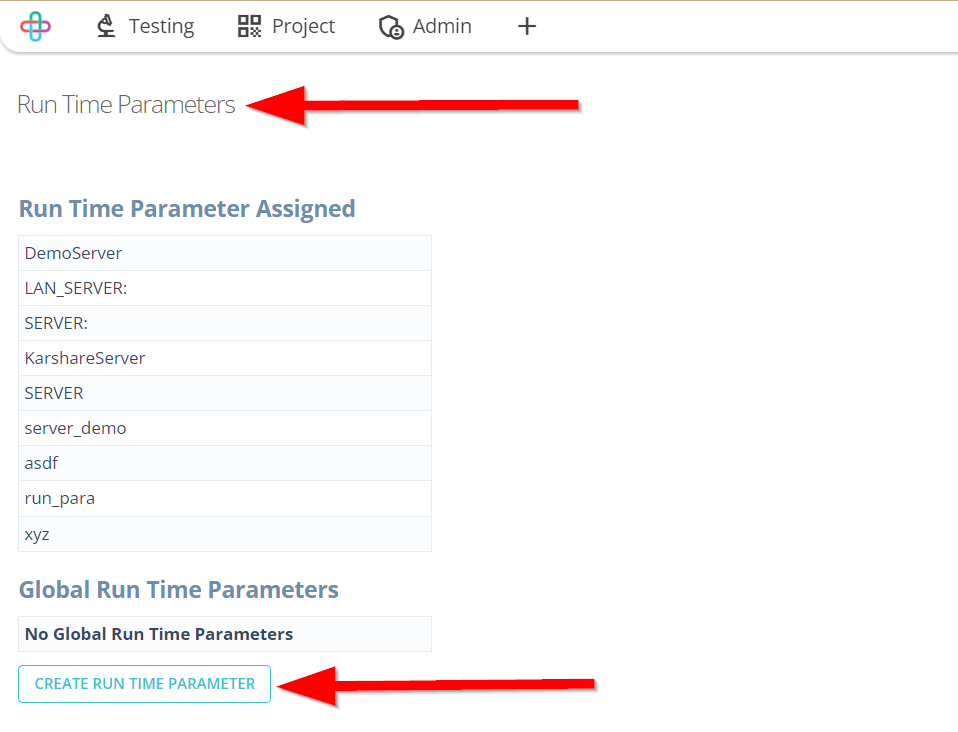
Go to the Run Time Parameters page.
Click on the Create Run Time Parameter option.
Run Time Parameter refers to the input or configuration values that are provided during the execution of a test, allowing testers to dynamically change test conditions and behaviour.
Run Time Parameters page contain two type of fields:
- Run Time Parameter Assigned
- Global Run Time Parameters Assigned.
The function of Create Run Time Parameter option is to enable testers to define and specify dynamic input values during test execution, enhancing flexibility and adaptability of the test scenarios.
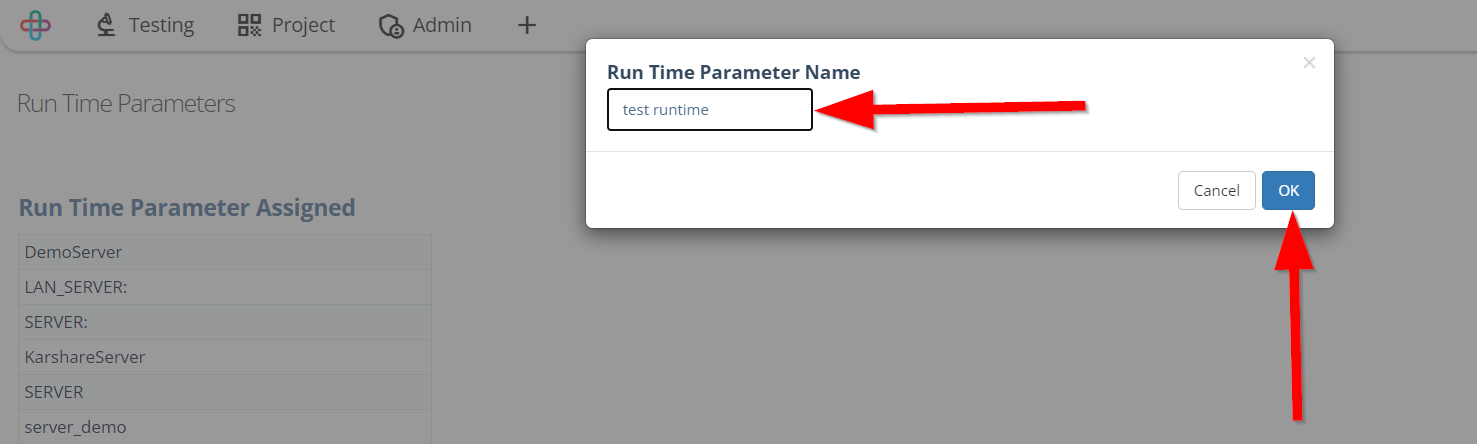
Enter the Parameter Name.
Click on the OK button.
Entering the name of the Run Time Parameter is necessary to enable clear identification and referencing of dynamic input values during test execution, facilitating easy customization and management of test scenarios.
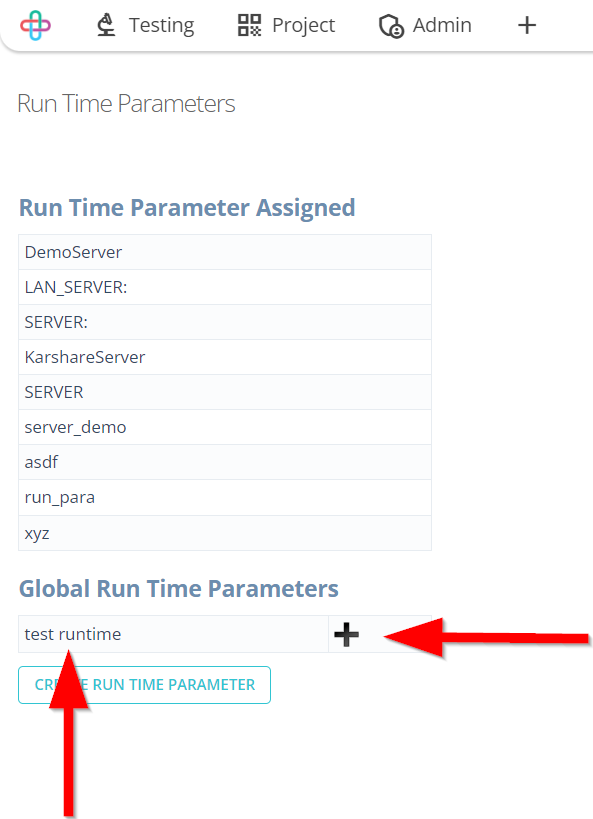
The required Parameter will be added to the Global Run Time Parameters.
Click on the Plus sign(+) to link the required Parameter.
A Parameter refers to a variable or value that can be passed into a test or a function, allowing customization and flexibility in test execution.
Global Run Time Parameters refer dynamic values that are universally accessible and can be shared across multiple tests or test scenarios during their execution.
The purpose of adding Parameter to the Global Run Time Parameters is to define and configure dynamic values that can be used and shared across various tests or test scenarios during execution, enhancing flexibility and reusability.
- Click on the OK button.
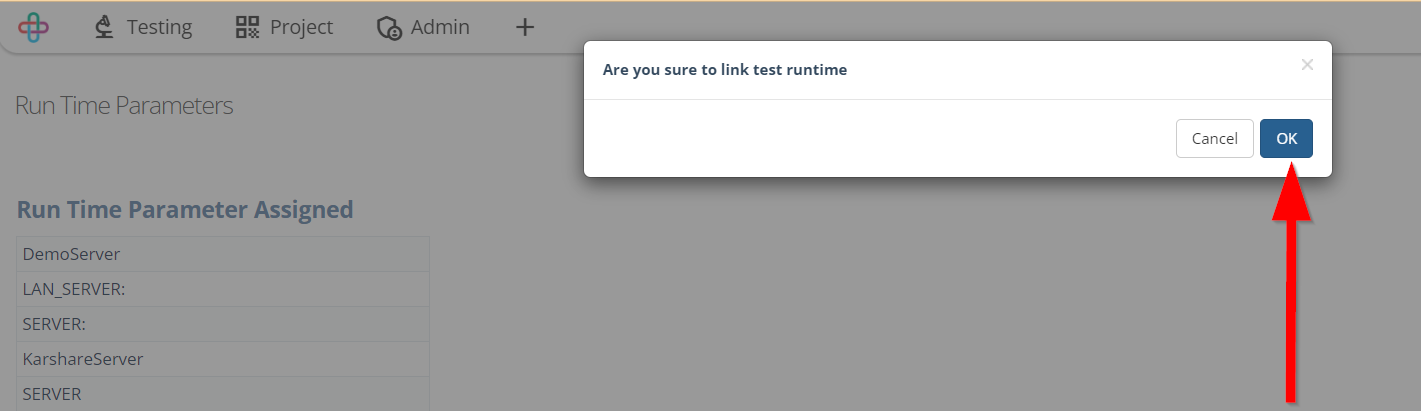
The required Parameter will be added to the Run Time Parameter Assigned.
Click on the required Parameter.
Run Time Parameter Assigned refers to the process of associating dynamic values or variables with specific test cases or test scenarios during test execution.
The purpose of adding Parameter to the Run Time Parameter Assigned is to allow testers to use and customize dynamic values during test execution, enabling versatile and adaptable testing scenarios.
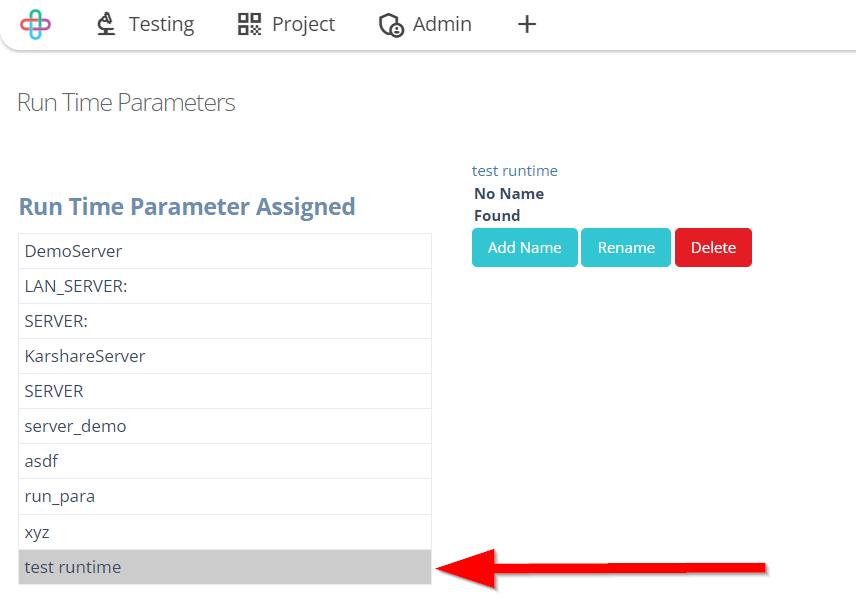
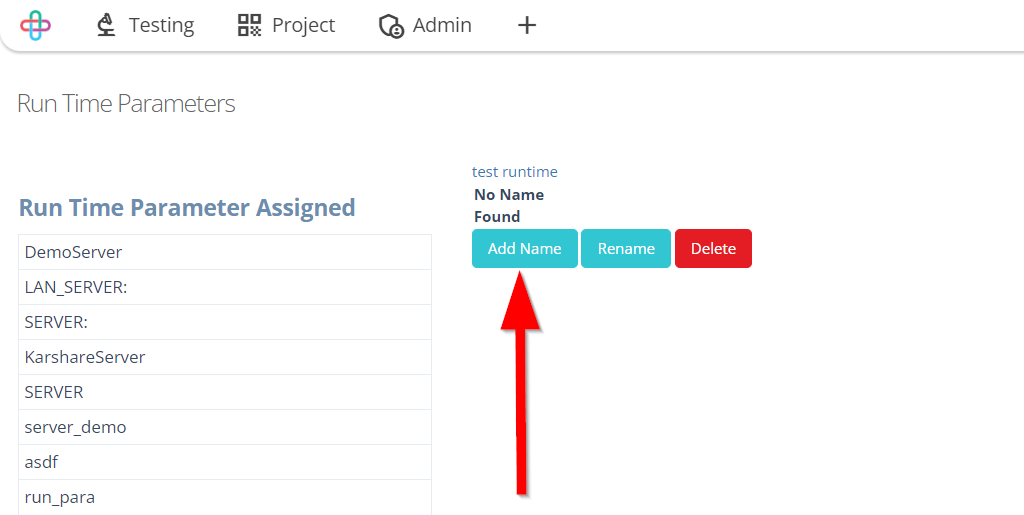
- Click on the Add Name button.
The function of Add Name button is to create and specify a unique identifier or name for a new dynamic input value, facilitating its use and management during test execution.
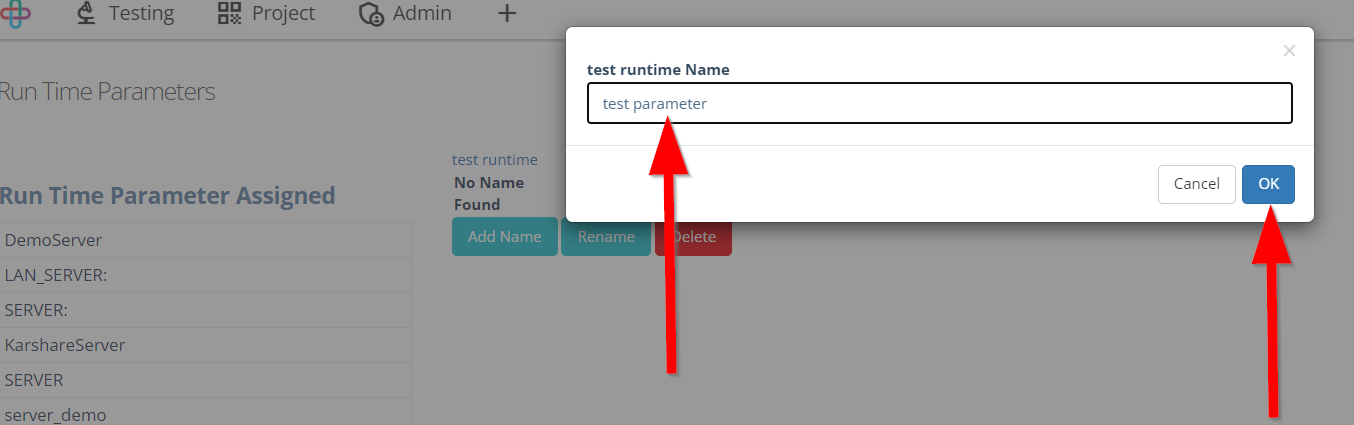
- Enter the name of the required Parameter.
- Click on the OK button.
Entering a name for the required Parameter is necessary to uniquely identify and reference dynamic input values during test execution, ensuring proper configuration and usage of the parameter in test scenarios.
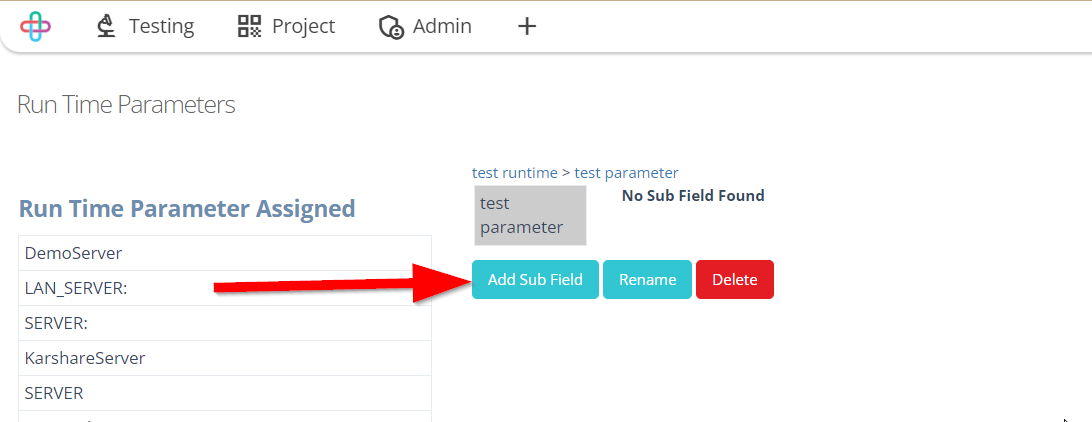
To add Value, click on the Add Sub Field button.
A Sub Field provides a meaningful and identifiable label for the specific data or input.
The function of Add Sub Field button is to enable testers to further customize and specify additional attributes or details within a parameter, providing more flexibility and granularity in test scenarios.
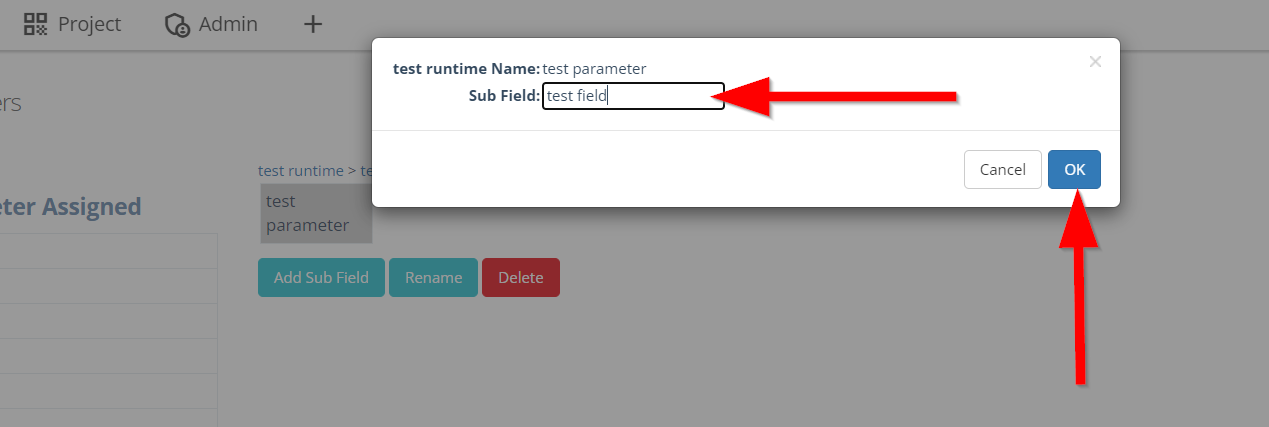
Adding a Value to a Parameter is necessary to define the specific data or input that the parameter represents, allowing for dynamic configuration and execution of test scenarios.
- Enter the name of the Value.
- Click on the OK button.
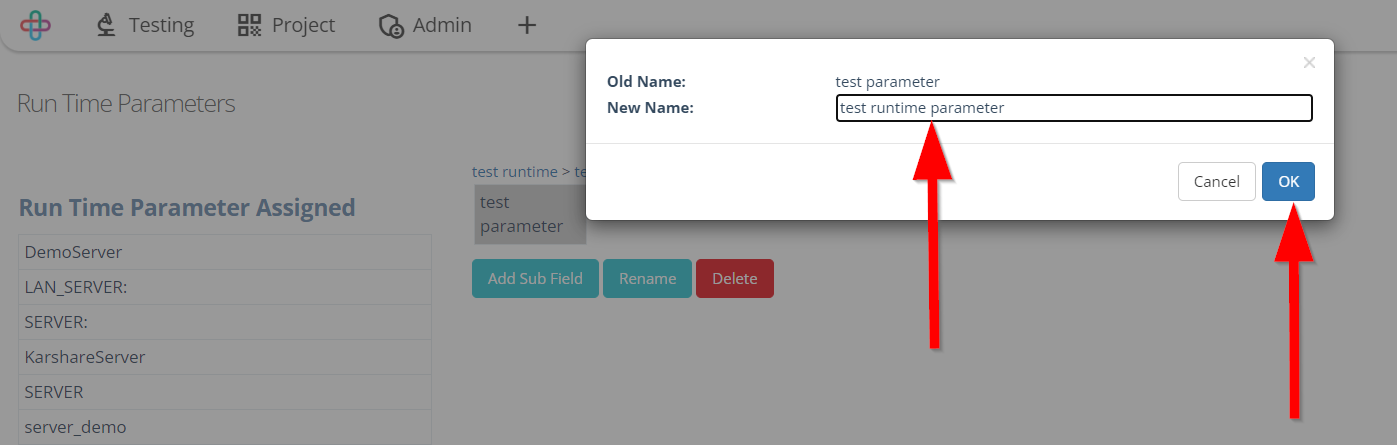
- To rename the Sub Field, click on the Rename button.
Renaming a Sub Field is essential for enhancing code readability, maintainability, and conveying the intent of the input values more effectively.

- Enter the new name of the Sub Field.
- Click on the OK button.
Entering a new name for the Sub Field ensures accurate representation and clarity when defining and using the input values in the software.