How to setup Test Scheduler
Description#
What is a Test Schedular in software testing?#
A Test Schedular is a tool used in software testing to schedule and run tests at predetermined times and frequency. It helps manage large and complex tests by automating the process of scheduling and checking complex processes from one streamlined, intuitive interface.
Why is it necessary to setup Test Schedular in software testing?#
Setting up a Test Schedular in software testing is necessary for automation, efficiency, comprehensive test coverage, regression testing, reporting and analysis, CI/CD integration, and global testing. It automates test execution, saving time and improving productivity.
Scheduled tests ensure that all relevant test cases are consistently executed, increasing the chances of detecting defects and regressions.
Test Schedular reports provide insights into software stability and performance. Integration with CI/CD pipelines ensure thorough testing before release. Additionally, scheduling tests based on time zone enables global coverage.
Overall, a Test Schedular enhances the testing process by optimizing resources, providing valuable data, and ensuring high-quality software.
Steps#
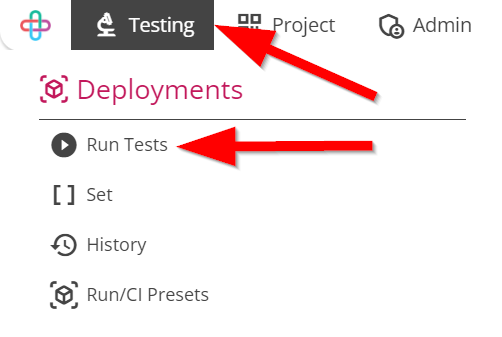
- From the Menu bar, go to the Testing then Run Tests option.
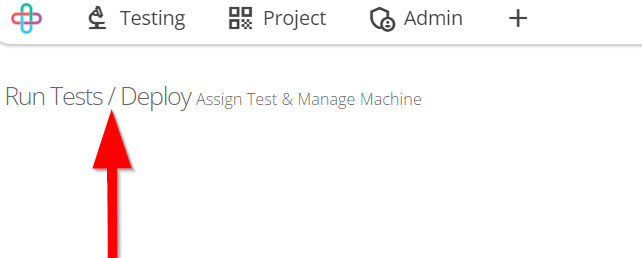
- Go to the Run Tests/Deploy page.
The Run Tests/Deploy page refers to a dedicated interface or platform where test cases are executed or deployed for the purpose of evaluating software functionality and performance.
Fill up the following informations that are available on Run Tests/Deploy page and Deployment tab.
Following informations are:
- Select Preset
- Search test cases
- Assign testers
- Send report to
- Milestone
- Run Objective
- Version
- Platform.
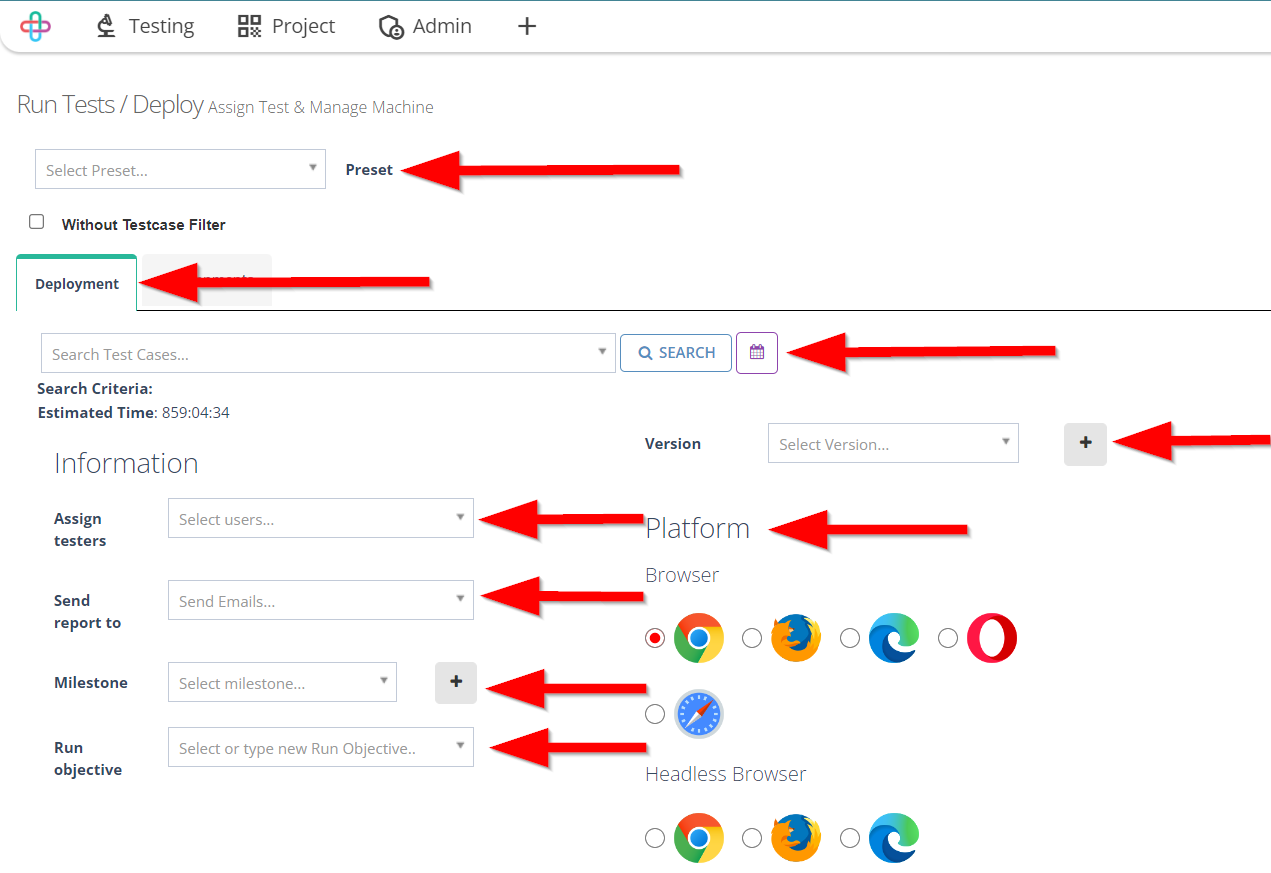
- To run Test cases or Test set, click on the RUN button.
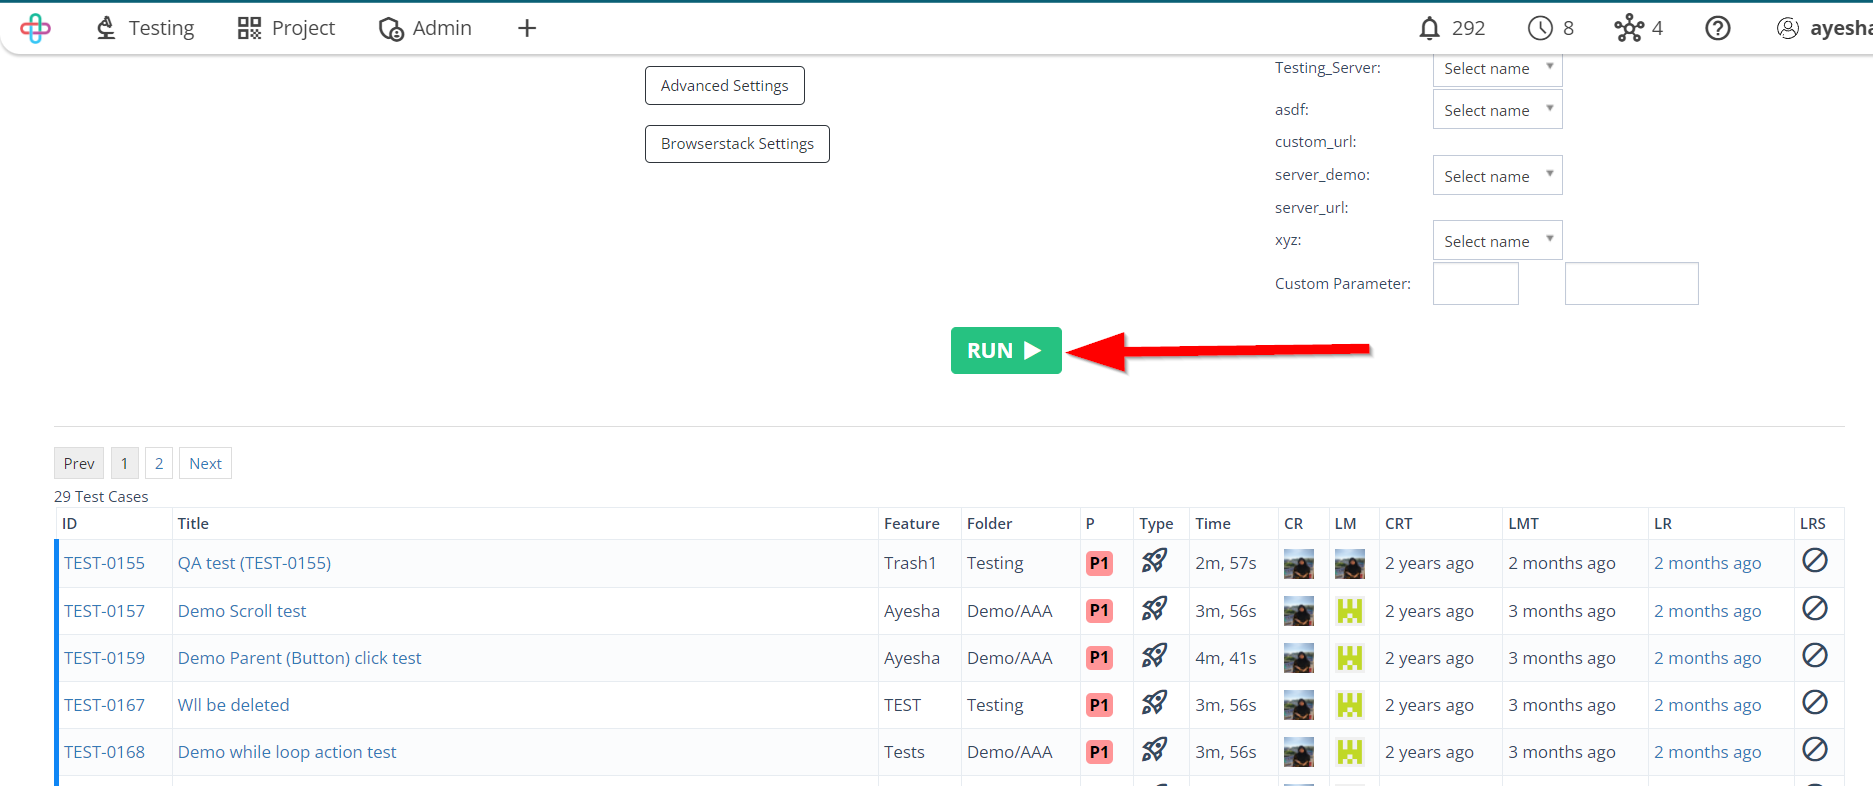
Click on the More option.
The More option typically refers to additional or extended functionalities, options, or settings that are not immediately visible but can be accessed to access advanced features or information.
Following More options are:
- Run Parameter
- External Services
- Objectives.

- To create Run Parameter, click on the RUN PARAMETER option.
Run Parameters are configuration settings that customize and control the conditions under which tests are executed, enabling flexibility, reusability, and environment specification in software testing.

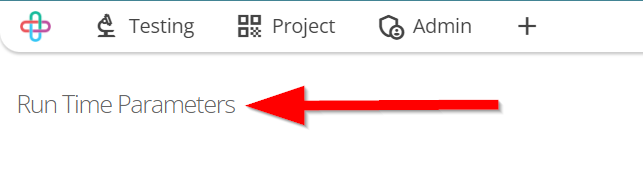
- Go to the Run Time Parameters page.
Run Time Parameters in test cases refer to values or settings that can be defined or modified during test execution, enabling dynamic test behavior based on varying conditions or environments.
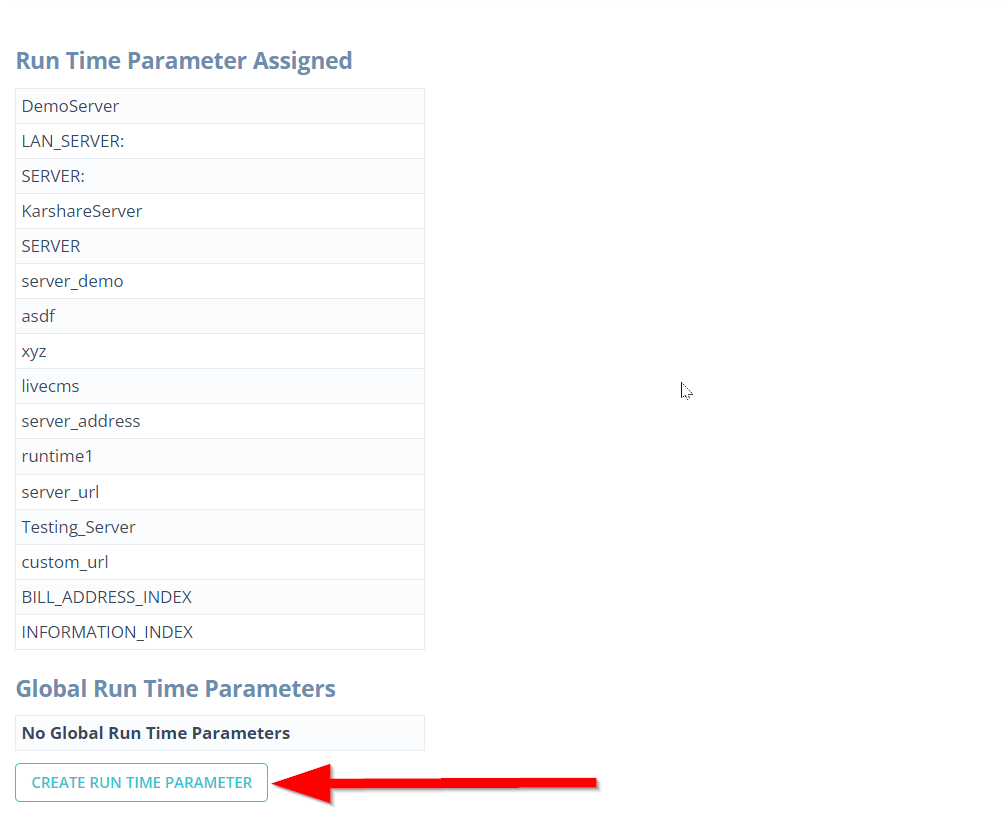
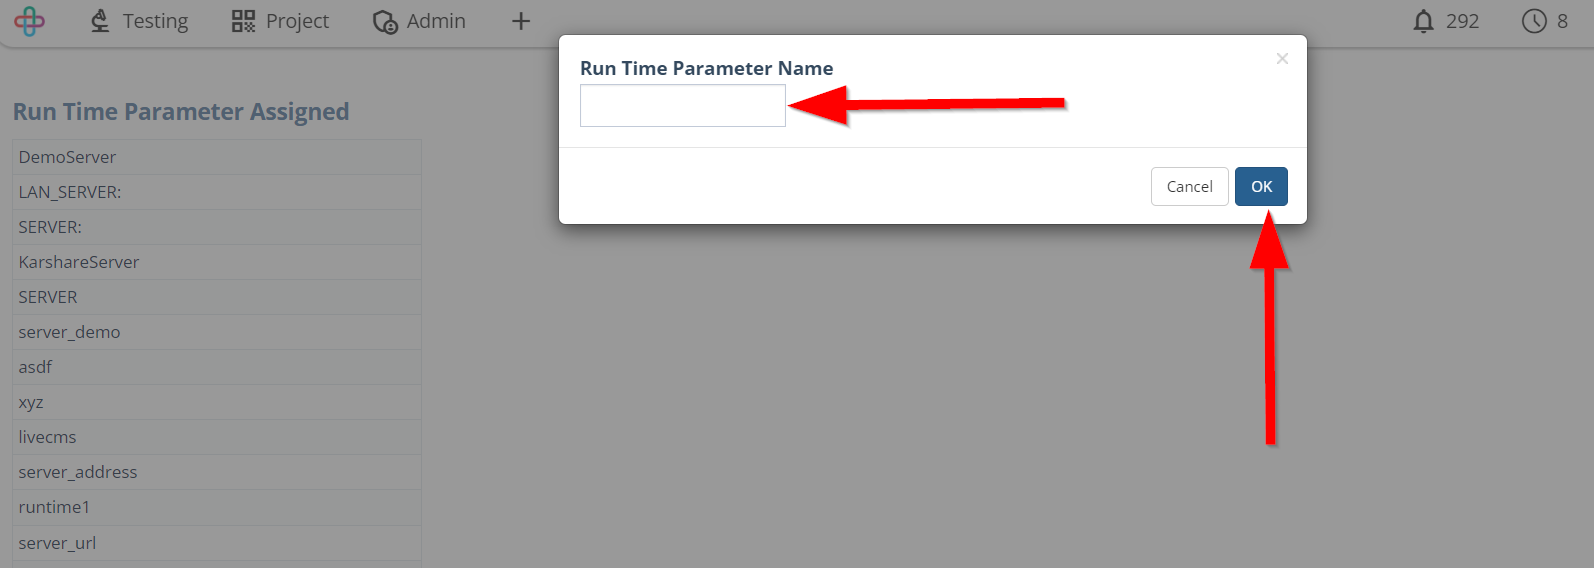
- Click on the Create Run Time Parameter button.
Run Time Parameter allows testers to modify test inputs or configuration settings dynamically during test execution, adapting the tests to various conditions without altering the test code.
- To add a new external service, click on the EXTERNAL SERVICES option.
External services are functionalities or resources utilized by a software application that are provided by entities external to the application itself, such as APIs, databases etc.

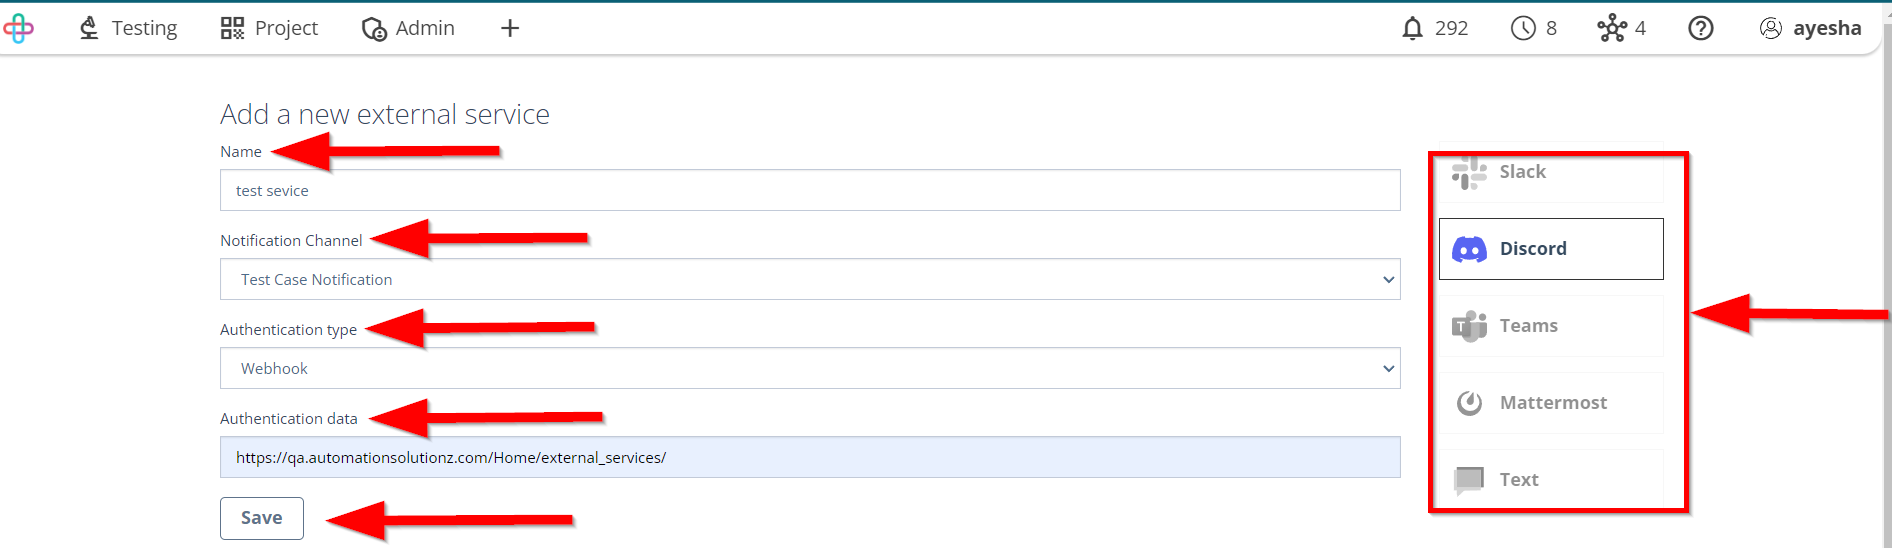
- Go to the Add a new external service page and fill up the following informations and click on the Save button.
- Name
- Notification Channel
- Authentication type
- Authentication data.
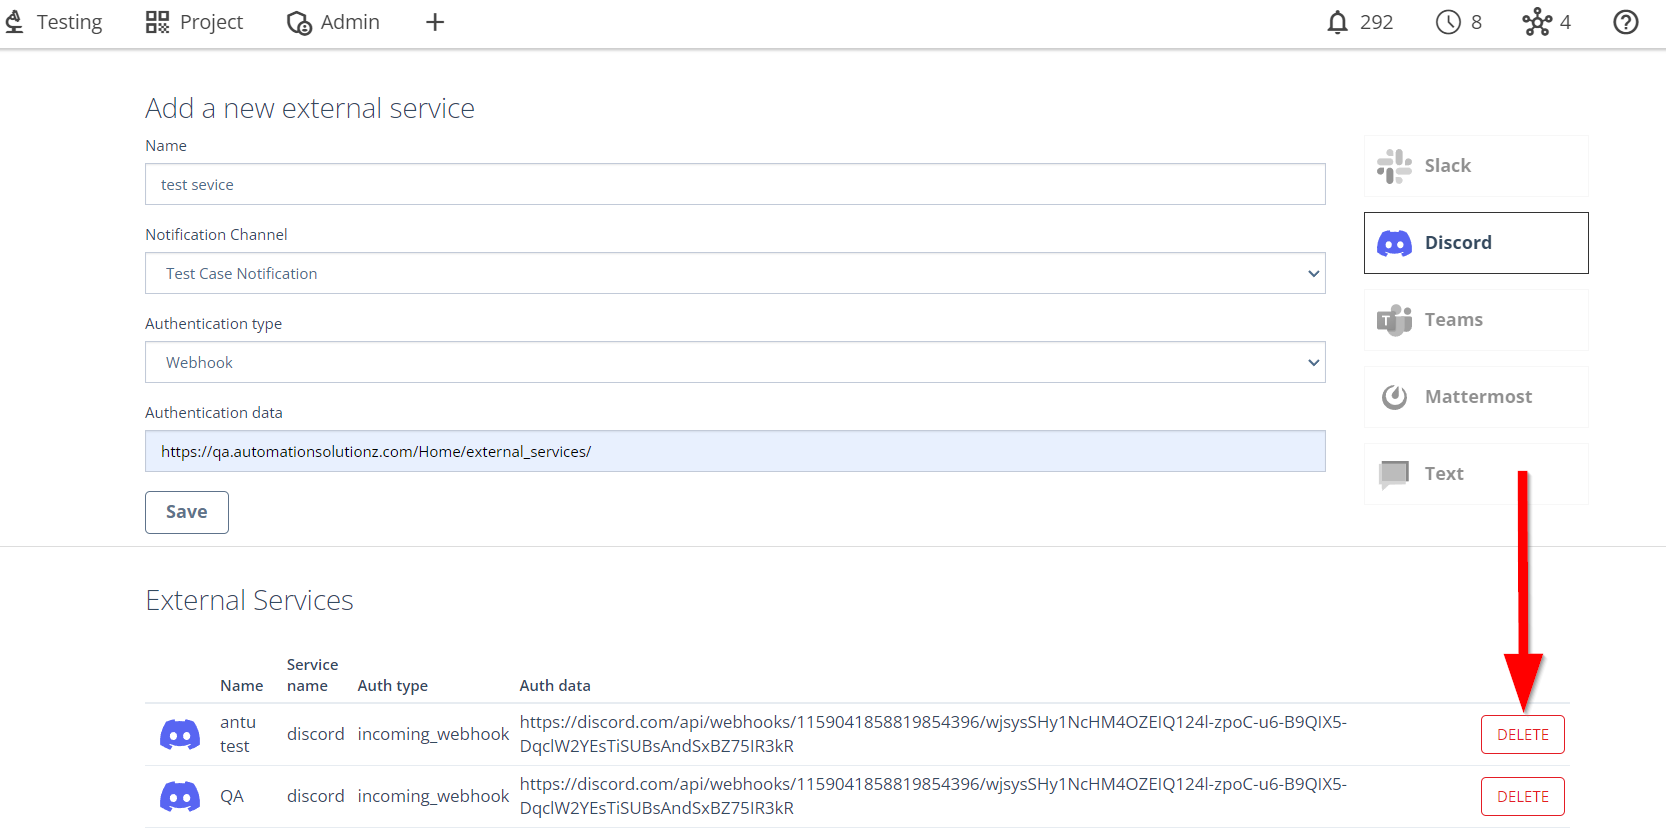
- To delete any External Service, click on the DELETE button.
- To create an Objective, click on the OBJECTIVE option.

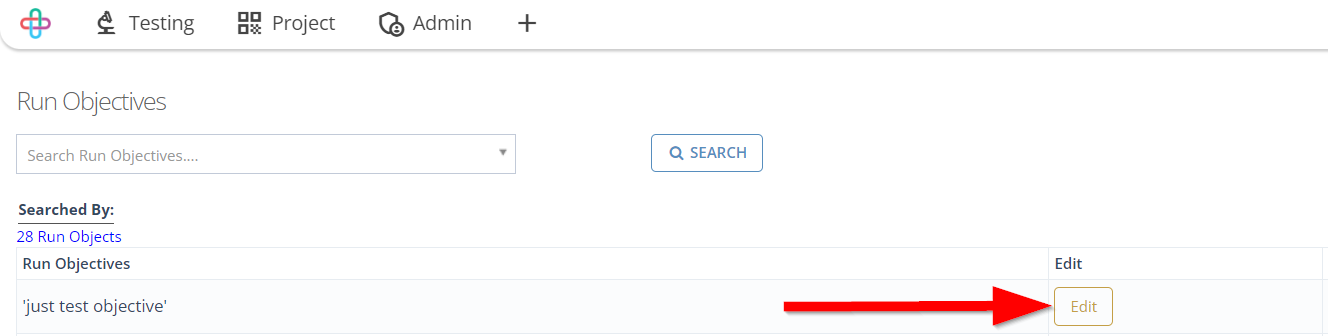
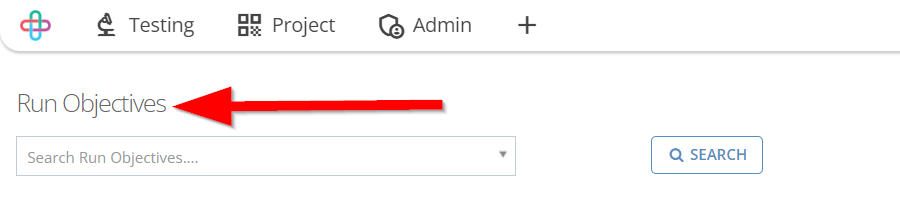
- Go to the Run Objectives page.
- To create a new objective, click on the CREATE NEW OBJECTIVE button.


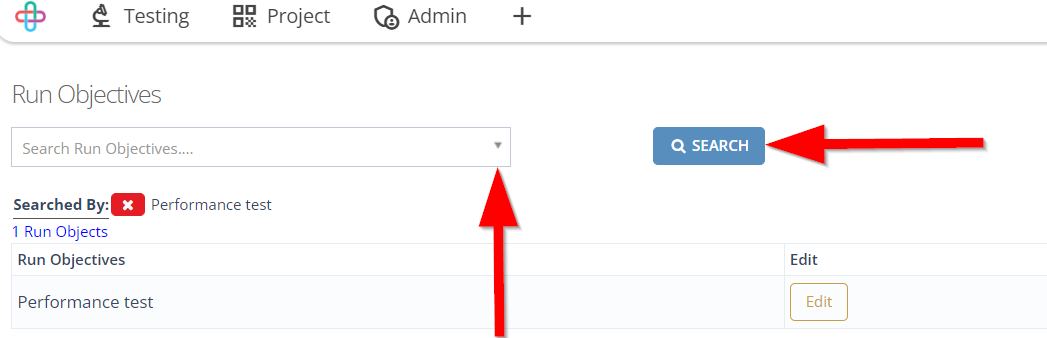
- To search Run objectives, click on the Search Run Objectives first, then click on the SEARCH option.
- To select all the objectives, click on the SELECT ALL button.
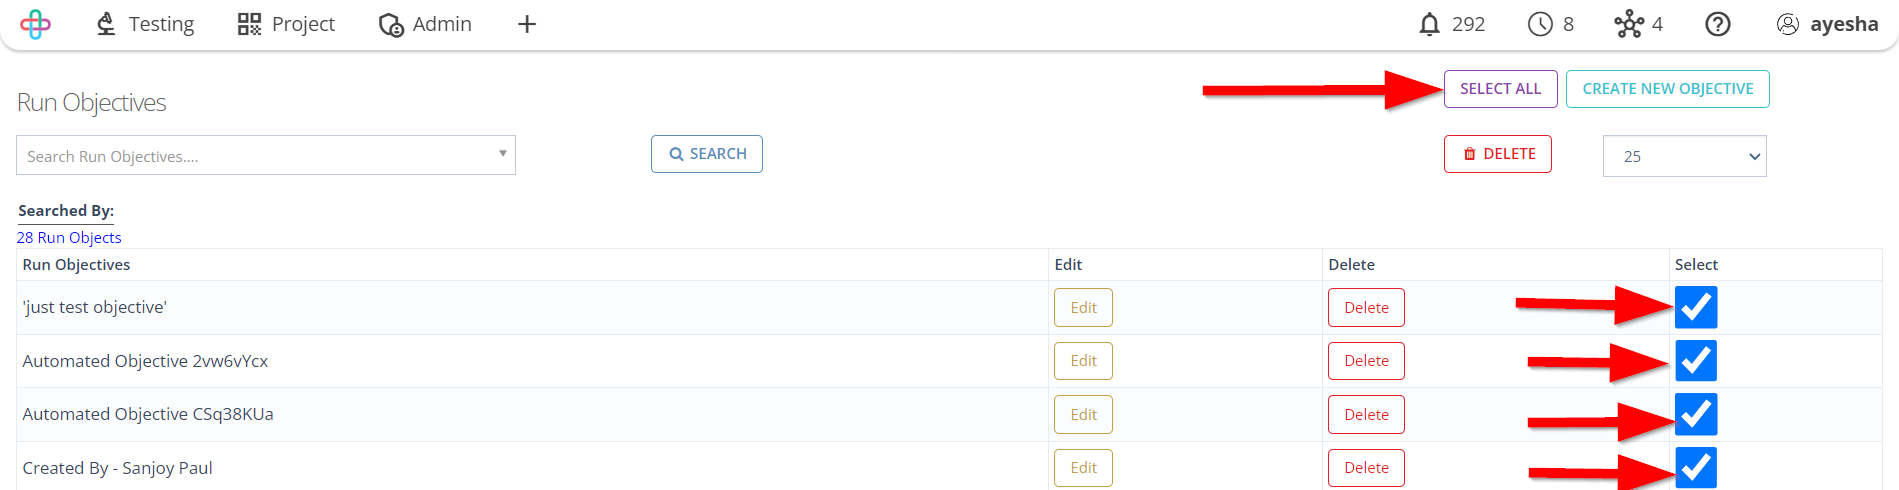
- To delete any objective, first select an objective and then click on the DELETE button.

- To edit any objective, click on the Edit button.